Logo

How to Self-Inject Semaglutide: A Step-by-Step Guide for New Patients

MD Telehealth Platform LLC DBA Joey Med is committed to protecting yohealth information in compliance with HIPAA regulations.
By Joey Med
5 min read
Updated: January 1, 2025
Step-by-step guide to self-injecting semaglutide: supplies, injection sites, technique, side effects to watch for, and mistakes new patients should avoid.

Step-by-step guide to self-injecting semaglutide: supplies, injection sites, technique, side effects to watch for, and mistakes new patients should avoid.

Overview

Learning how to inject semaglutide correctly is one of the first things new patients want to nail down. The medication works — but only when it's administered consistently and the right way. Whether your first shipment just arrived or you're still deciding if at-home injections are something you can manage, this guide covers everything: what you need, where to inject, how to do it safely, and what to watch for when something feels off.

Self-injecting sounds intimidating before you've done it. Most patients say the second injection already feels routine.

What You Need Before Your First Injection

Getting organized before you open anything saves you from scrambling mid-process. Lay everything out on a clean, flat surface first.

You'll need:

  • Your semaglutide medication (vial or pre-filled pen, depending on your prescription)
  • The correct syringe and needle gauge (your provider will specify this)
  • Alcohol swabs
  • A sharps disposal container
  • Clean hands and a dry work surface

If your medication arrived as a vial with a separate syringe, your provider's instructions will include the exact draw volume for your current dose. Don't estimate — follow the volume listed in your treatment plan precisely.

Storing Your Medication

Semaglutide needs to be refrigerated between 36°F and 46°F (2°C to 8°C). Keep it away from the back of the fridge where it might freeze, and away from the door where temperatures fluctuate. Never use medication that has been frozen.

Once opened, most compounded semaglutide vials remain stable for a window specified by your compounding pharmacy. Check the label and your provider's instructions for that timeframe. If the solution looks cloudy, discolored, or has visible particles, don't use it.

Choosing Your Injection Site

Semaglutide is a subcutaneous injection — it goes into the fatty tissue just beneath the skin, not into muscle. Three sites work well for most patients:

  1. Abdomen — At least two inches from your navel. This is the most common site and the easiest to reach on your own.
  2. Outer thigh — The middle third of the outer thigh. A good option if you'd rather avoid the abdomen.
  3. Upper arm — The back of the upper arm. Harder to reach solo, but manageable with practice.

Rotate your injection site each week. Using the same spot repeatedly can cause lipohypertrophy — a buildup of fatty tissue that affects how the medication absorbs. A simple rotation: left abdomen, right abdomen, left thigh, right thigh, then repeat.

Avoid areas with active irritation, bruising, scars, or stretch marks. Steer clear of the navel itself and any moles or skin irregularities.

Step-by-Step: How to Self-Inject Semaglutide

Step 1: Wash Your Hands

Soap and water, at least 20 seconds, dried thoroughly. This isn't optional. Infection risk from subcutaneous injections is low, but contaminated hands are the most common cause of injection site infections.

Step 2: Prepare Your Medication

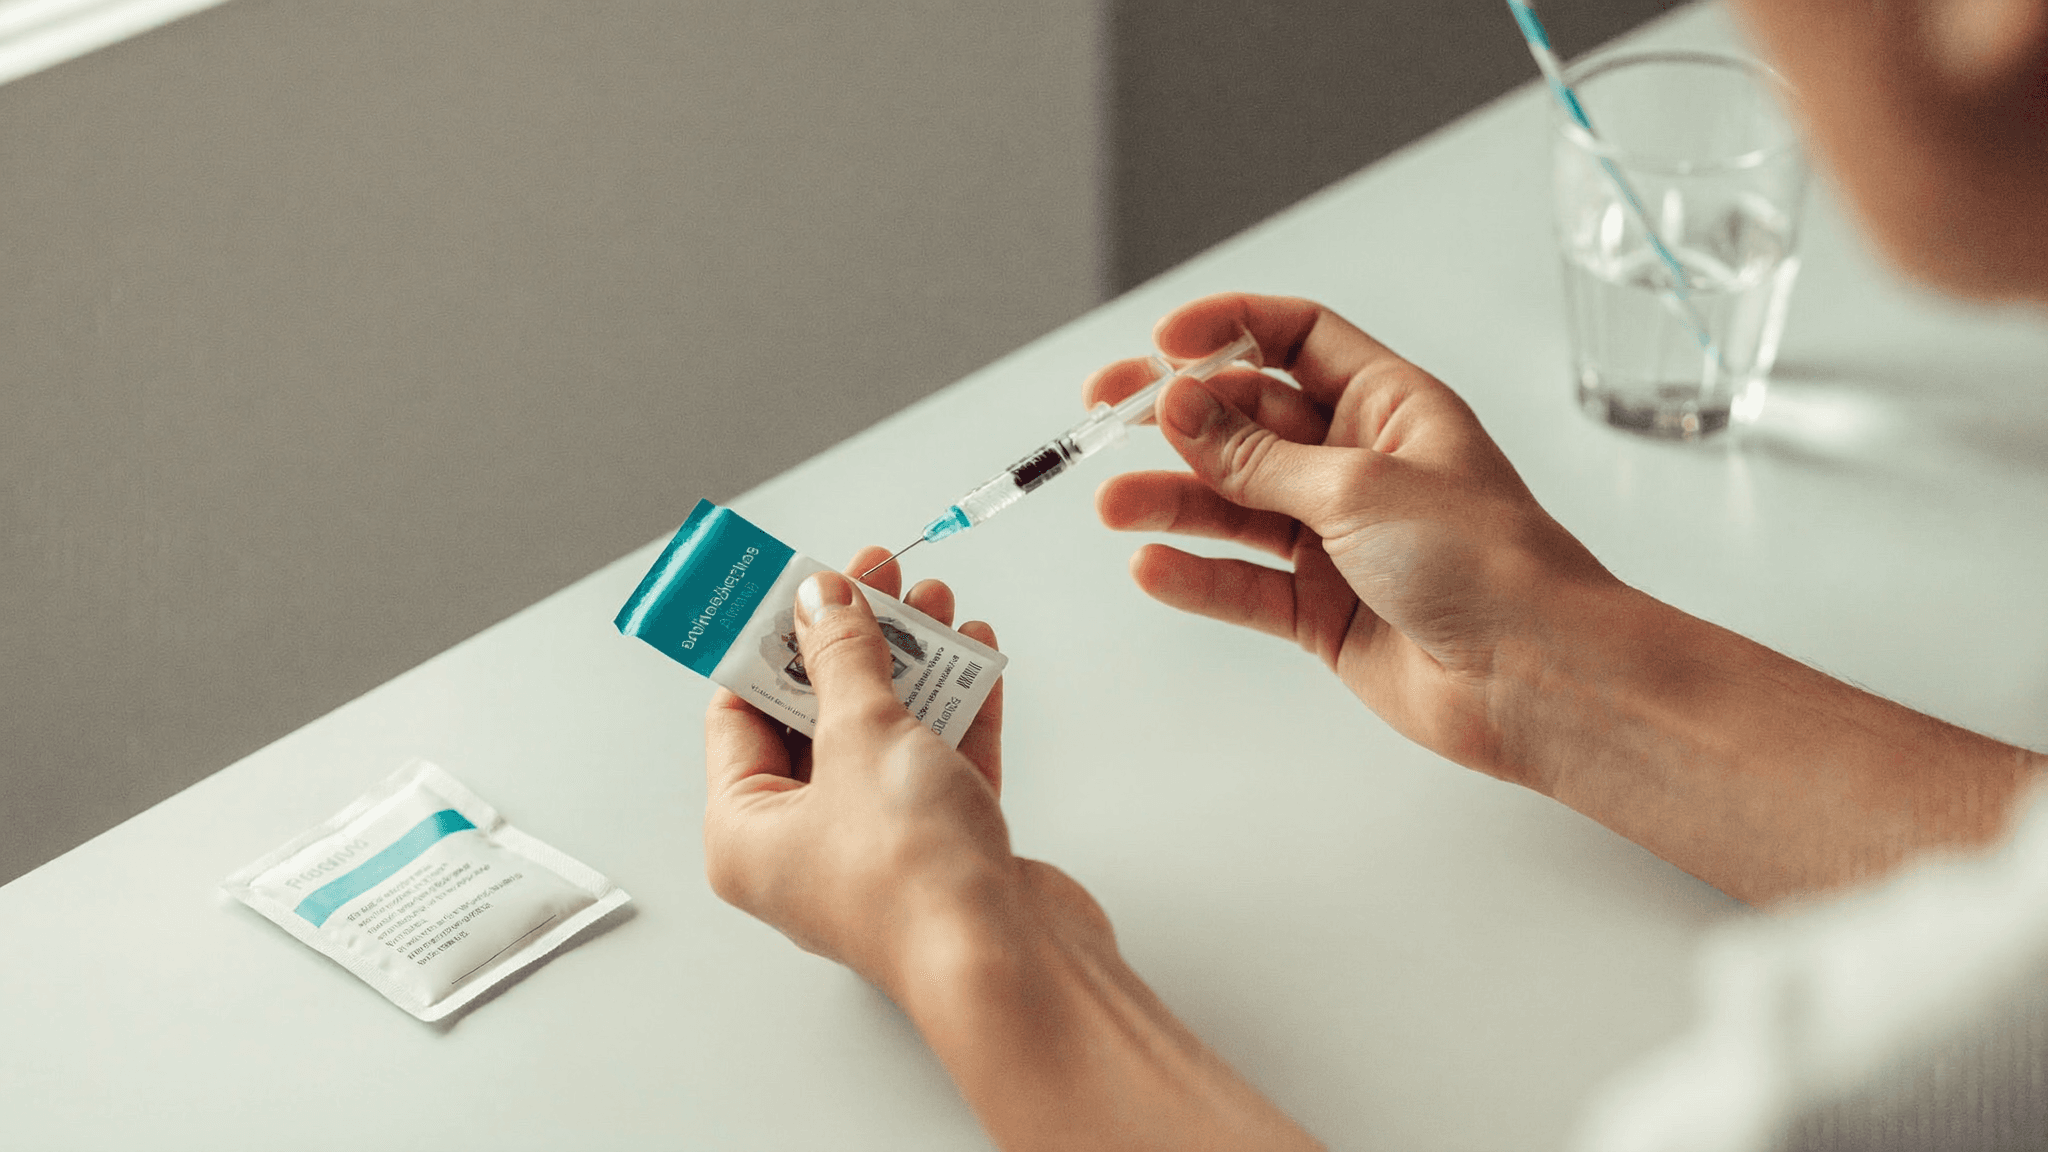
If you're using a vial and syringe:

  • Wipe the rubber stopper with an alcohol swab and let it air dry for about 10 seconds.
  • Draw air into the syringe equal to your prescribed dose volume.
  • Insert the needle into the vial, push the air in, then invert the vial.
  • Draw out slightly more than your dose, then tap the syringe gently to move any air bubbles upward.
  • Push the plunger slowly until you reach your exact prescribed volume, expelling any remaining air.

If you're using a pre-filled pen: attach a new needle per the pen's instructions and prime it according to the manufacturer's or pharmacy's guidance.

Step 3: Clean the Injection Site

Wipe the chosen area with a fresh alcohol swab using a circular motion. Let the skin air dry completely before injecting — wet skin can cause brief stinging.

Step 4: Pinch and Insert

Pinch a small fold of skin between your thumb and forefinger. Insert the needle at a 45-degree angle if you're on the leaner side, or 90 degrees if you have more subcutaneous fat at the site. Most adults inject at 90 degrees into the abdomen without any issue.

Insert with a smooth, confident motion. Hesitating tends to cause more discomfort than a quick, decisive insertion.

Step 5: Inject Slowly

Push the plunger down steadily. Rushing can cause the medication to pool, which increases the chance of a small lump or localized irritation. A slow, even push over two to three seconds is the right pace.

Step 6: Withdraw and Apply Light Pressure

Pull the needle out at the same angle you inserted it. Apply gentle pressure with a clean gauze pad or cotton ball for a few seconds. Don't rub — rubbing can push the medication out of the subcutaneous layer.

A small drop of blood is normal. Hold pressure until it stops.

Step 7: Dispose of the Needle Safely

Place the used needle directly into your sharps container. Never recap a used needle with two hands. If you need to recap, use the one-handed scoop method. Sharps containers should be disposed of according to your local regulations — many pharmacies accept them.

Managing Common Injection Site Reactions

Minor, temporary reactions at the injection site are normal. Knowing what to expect helps you stay calm and stick to your weekly schedule.

Normal reactions: - Mild redness or pink discoloration lasting a few hours - A small raised bump that resolves within a day - Brief stinging or burning during or after the injection - Minor bruising, especially if you catch a small capillary

Reactions worth flagging to your provider: - Swelling, warmth, or redness that worsens over 24 to 48 hours - A hard lump that persists for more than a week - Signs of infection: increasing pain, pus, or fever

If you're on a GLP-1 plan through a telehealth platform with ongoing provider follow-up, you don't have to wait for an in-person appointment to raise these concerns. JoeyMed includes 24/7 customer support and provider follow-up as part of every treatment plan — which matters when questions come up between weekly doses.

Injection Timing and Dose Escalation

Semaglutide for weight management is dosed once weekly, on the same day each week. Consistency matters. If you miss a dose by a day or two, take it as soon as you remember and resume your normal weekly schedule. If more than five days have passed, skip that dose and continue with your next scheduled injection.

Why Dose Escalation Exists

Most GLP-1 protocols start low and increase gradually over several weeks. This isn't about limiting effectiveness — it's about giving your GI system time to adjust, which reduces the intensity of nausea, vomiting, and other early side effects.

Your provider will outline your starting dose and escalation schedule in your treatment plan. Don't increase your dose ahead of schedule, even if you feel like you're tolerating it well. The escalation timeline is based on clinical evidence, not just comfort level.

If nausea is making it hard to stay on track, some telehealth plans offer anti-nausea add-ons as part of their GLP-1 program. It's worth asking your provider about before you decide the medication isn't working for you.

If You're Nervous About Injecting

Needle anxiety is common — even among people who've had blood draws or vaccines without a second thought. Self-injection feels different because you're the one in control of the process.

A few things that genuinely help:

  • Practice the motion first. Go through every step with a capped syringe until the sequence feels automatic.
  • Use a distraction. Put something on your phone or listen to music during the injection.
  • Don't rush. Rushing increases both anxiety and discomfort.
  • Give yourself a moment after. Sit down, breathe, and recognize that you did it.

Most patients say anxiety drops significantly after the second or third injection. The anticipation is almost always worse than the act itself.

What Not to Do

A few mistakes come up often enough with new patients that they're worth naming directly.

  • Don't inject into muscle. Subcutaneous means into fat, not muscle. Injecting into muscle changes absorption and increases pain.
  • Don't reuse needles. A needle dulls immediately after first use. A dull needle tears tissue instead of piercing it cleanly, which means more pain and higher infection risk.
  • Don't use the same spot every week. Rotate sites to prevent tissue buildup.
  • Don't skip the alcohol swab. It takes ten seconds and meaningfully reduces contamination risk.
  • Don't store medication in the freezer. Frozen semaglutide is degraded medication.
  • Don't adjust your dose on your own. If your current dose isn't producing the results you expected, that's a conversation for your provider — not a reason to self-escalate.

How Telehealth Patients Get Started With Semaglutide

If you're reading this before starting treatment, the process through a telehealth platform is straightforward. You complete a health intake form, a board-certified provider reviews your submission and determines whether you're a candidate, and your medication ships directly to your home.

Platforms like JoeyMed include provider instructions with your shipment covering your starting dose, escalation schedule, and injection technique specific to your formulation. The guidance in this article is general — your provider's specific instructions always take precedence.

If anything in your shipment is unclear, or if you have questions about your dose or injection site, reach out to your provider's support team before your first injection. That's exactly what they're there for.

Frequently Asked Questions

Where is the best place to inject semaglutide? The abdomen is the most commonly used site — it's easy to access and has consistent subcutaneous fat for most patients. Inject at least two inches from the navel. The outer thigh and back of the upper arm are also appropriate. Rotate sites weekly to prevent tissue buildup.

Does the semaglutide injection hurt? Most patients describe it as a brief pinch. Letting the alcohol swab dry fully before injecting, using a fresh needle every time, and injecting slowly all reduce discomfort. Injection site pain typically decreases after the first few weeks as technique improves.

What if I accidentally inject into muscle? It can cause more pain at the site and may affect how quickly the medication absorbs. If you think this happened, note it and contact your provider. It's not a medical emergency, but your provider should be aware.

Can I inject in my arm by myself? Yes — the back of the upper arm is an approved site. It's harder to reach without a mirror or assistance, but manageable. If you use this site regularly, practice the pinch technique to make sure you're capturing subcutaneous tissue rather than muscle.

How do I know if my injection site is infected? Normal reactions include brief redness and a small bump that resolves within a day or two. Signs of infection include increasing redness, warmth, swelling that worsens after 24 hours, pus, or fever. Contact your provider promptly if you notice any of these.

What should I do if I miss a weekly dose? If you're within five days of the missed dose, take it as soon as you remember and resume your normal weekly schedule. If more than five days have passed, skip it and continue with your next scheduled injection. Never double up on doses.

Can I travel with semaglutide? Yes. Keep it refrigerated during travel using an insulated cooler with ice packs. Your compounding pharmacy or telehealth provider can advise on storage for your specific formulation. TSA permits injectable medications in carry-on bags with appropriate documentation.

Getting the Most From Your Treatment

Self-injecting semaglutide is a skill that becomes second nature quickly. The first injection is the hardest — mostly because it's unfamiliar. Follow your provider's instructions, rotate your sites, use a fresh needle every time, and keep your medication properly stored.

If you're still deciding whether to start and want a clear path to a supervised GLP-1 prescription without insurance, JoeyMed connects you with board-certified providers through a simple online intake process. Your treatment plan and medication ship directly to your door, with ongoing provider support built in.

How to Self-Inject Semaglutide: A Step-by-Step Guide for New Patients | Joey Med Blog – Joey Med | GLP-1 Telehealth Tampa FL